Changing the Status of a Single Item
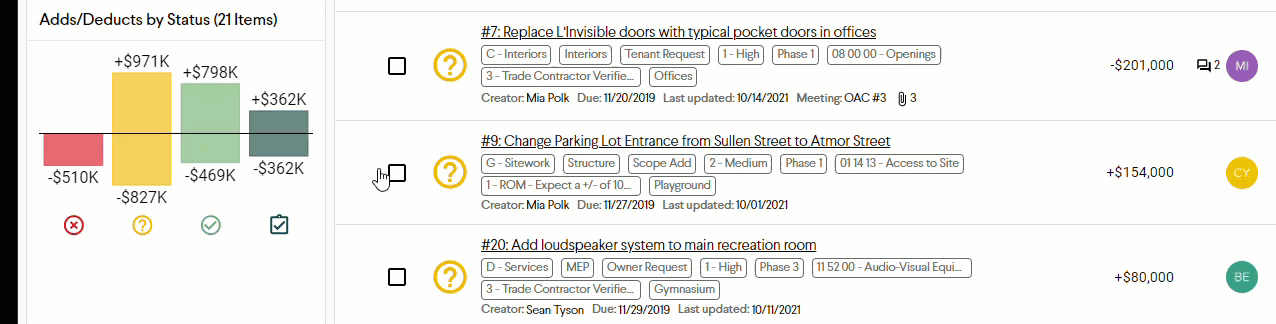
When an Item’s status is changed, the Total Cost Impact for that Item will move to the respective status in the Items chart on the Dashboard and in the Adds/Deducts by Status chart in the project sidebar. An Item status change will also adjust the Min/Max Available Range and be reflected as a colored dot in the Cost Trendline chart on the Dashboard.
Using the Items List
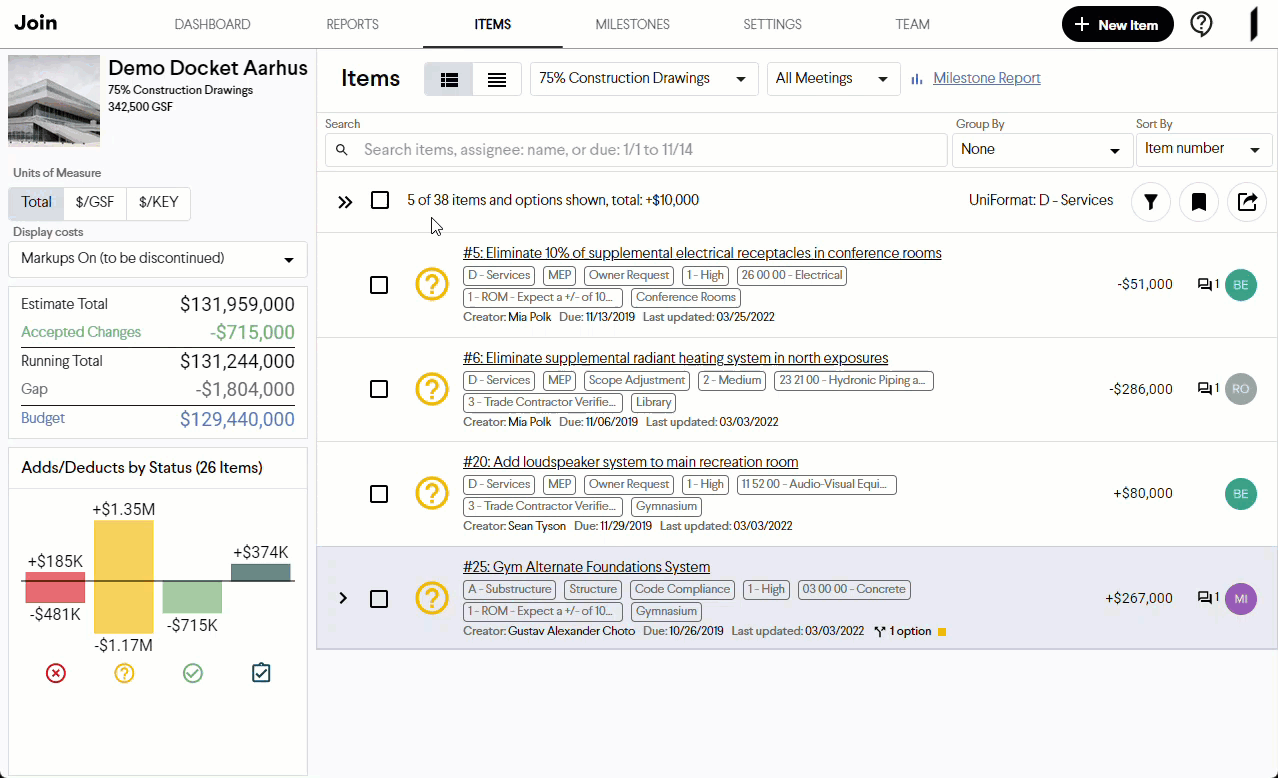
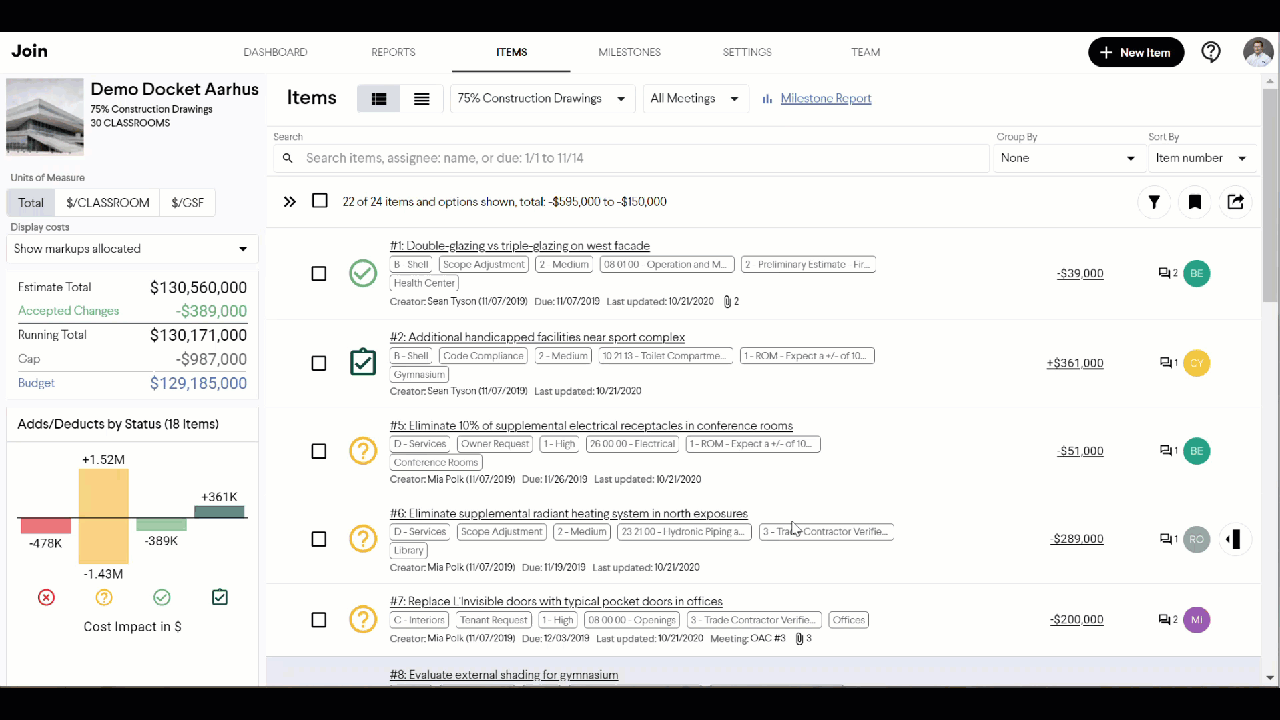
- Click Items in the navigation panel
- Hover over the current Item status in the Items List to display the available status options
- Select the desired status
Using the Item Sidebar
- Click Items in the navigation panel
- Hover over an Item
- Click the Expand Item Sidebar
 button to the far right of an Item
 - This will open the Item Sidebar on the right-hand side of the screen
- Click the Item Status drop-down list in the General Info section of the Items Sidebar
- Select the desired status
Using the Item Details View
- Click Items in the navigation panel
- Click the name of the Item to open the Item details view
- Click the Item Status drop-down list at the top right-hand side of the window
- Select the desired status
Changing the Status of Multiple Items
- Click Items in the navigation panel
- Select the desired Items by clicking on the check box to the left of each Item
- Click the Edit Items button, which will appear after more than one Item is selected
- Click the Status drop-down list and select the desired status in the Edit Selected Items menu
- Click the Apply Changes button

Note: Changing the status of an Item only changes it in the Milestone that the Item is currently associated with. To change the status of an Item in another Milestone, it must first be transitioned to that Milestone.