Deciding Which Items to Transition
After creating a new Milestone, there may be Items which should be moved forward to the new Milestone.
Items to Move Forward
Pending Items
Any Items that are still Pending in your previous Milestone will likely need to be moved to the new Milestone so that you don't lose track of decisions that still need to be made.
Accepted Items
Items that were previously Accepted are typically moved to the new Milestone with the status updated to Incorporated. This is optional, but is a best practice to show the history of when accepted changes were incorporated into the latest drawings and estimate.
Items to Leave Behind
Incorporated Items
If an Item was Incorporated in a previous Milestone, there is no need to continue to move it forward since it has reached the end of the decision lifecycle.
Rejected / Not Chosen Items
Items that have been Rejected, or Options that were Not Chosen have already been decided on and are no longer relevant so they do not need to move to the new Milestone.
Not Applicable
Not Applicable Items are no longer up for decision, so they do not need to move to the next Milestone.
Transitioning a Single Item
From Item Details Page
- Click Items in the navigation panel.
- Click on the name of the Item you want to transition to open the Item Details page.
- Click the Edit Milestone
 (pencil icon) button in the Milestone field on the right hand side.
 - Select the Milestone you want to move the Item to.
- Select a new Item status if applicable.
- Click the OK button.
From Item Sidebar
- Click Items in the navigation panel.
- Open the Item Sidebar by clicking the Item Sidebar
 button at the far right when hovering over an Item.
 - Click the Edit Milestone (pencil icon) button in the Milestone field of the General Info section of the Item Sidebar.
- Select the Milestone you want to move the Item to.
- Select a new Item status if applicable.
- Click the OK button.
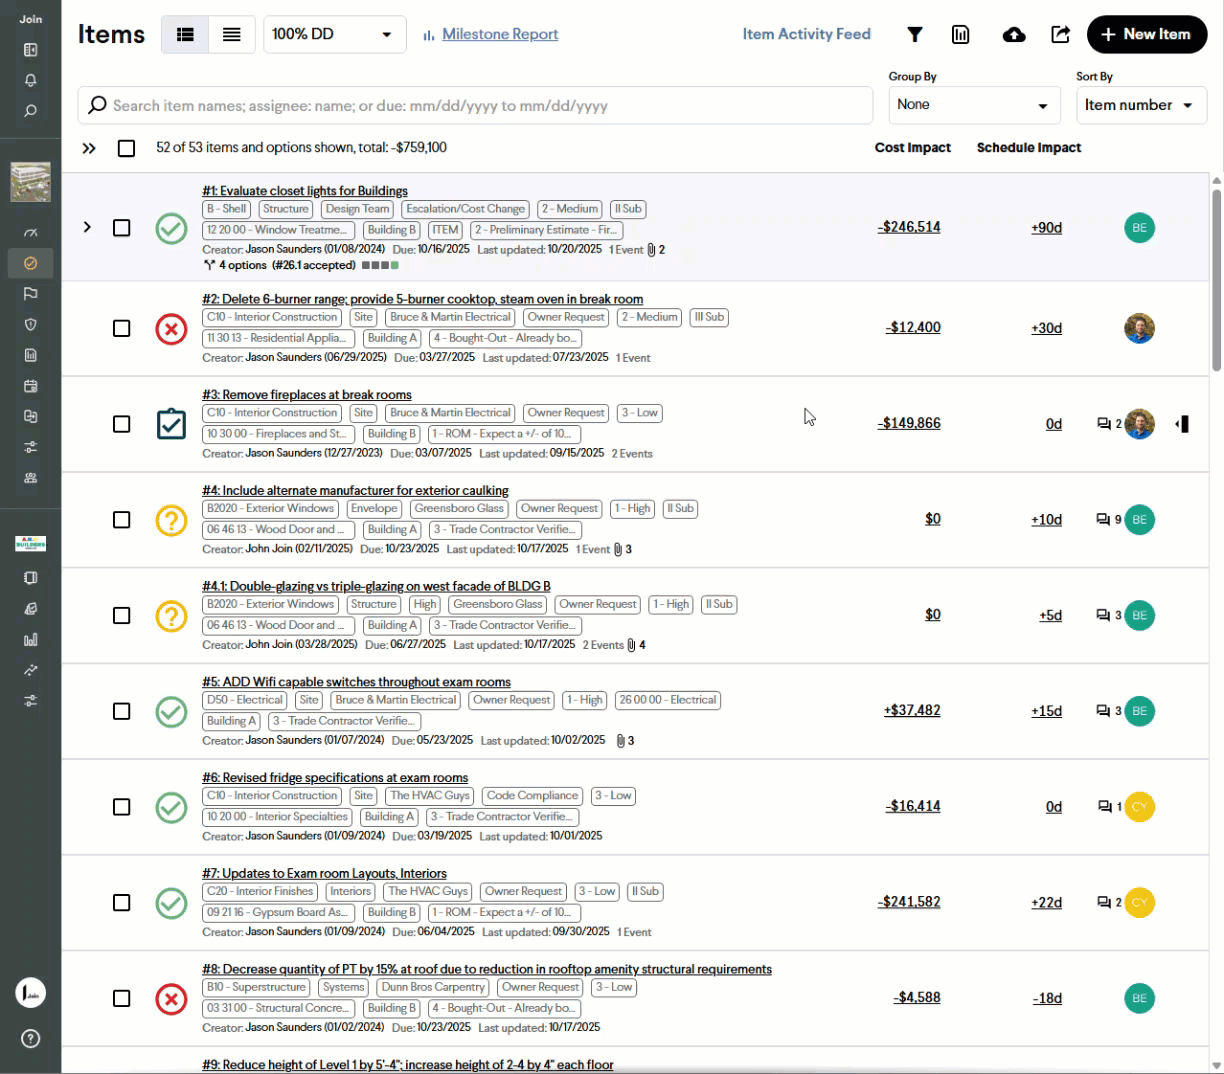
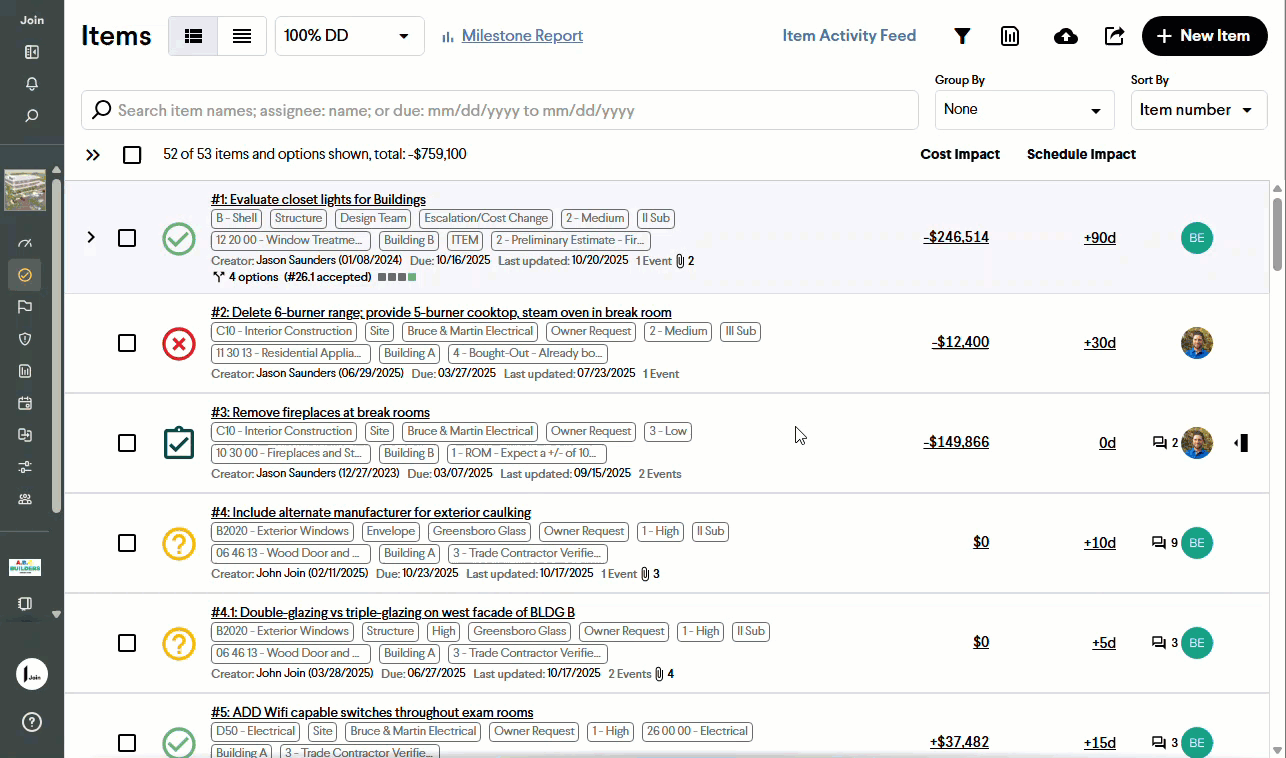
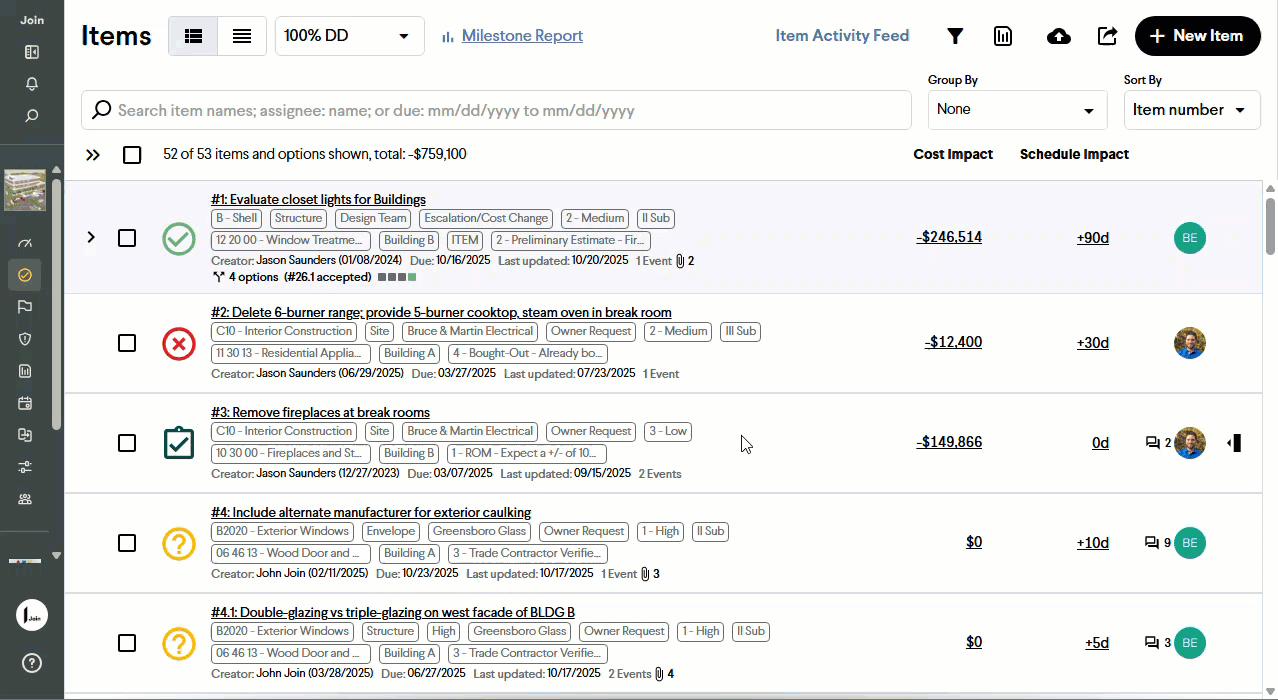
Transitioning Multiple Items
- Click Items in the navigation panel.
- Click the check box to the left of each Item that you want to transition.
- Click the Edit Items button, which will appear after more than one Item is selected to open the Edit Selected Items menu.
- Click the Milestone drop-down list and select the Milestone to transition the Items to.
- Click the Status drop-down list and select another status if applicable.
- Click the Apply Changes button.
Caution: When transitioning an Item with Options, all Options must be selected and transitioned at the same time.
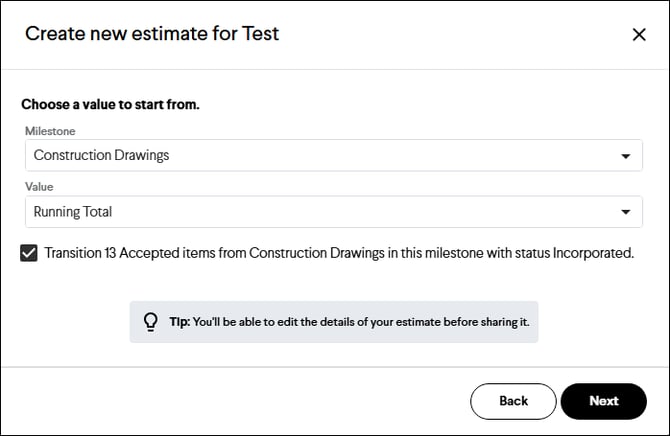
Transitioning Items with Copy From
You can transition Accepted Items from one Milestone to another with a status update to Incorporated. This occurs when using the Copy From workflow by selecting the Running Total, then checking the transition Items box.